

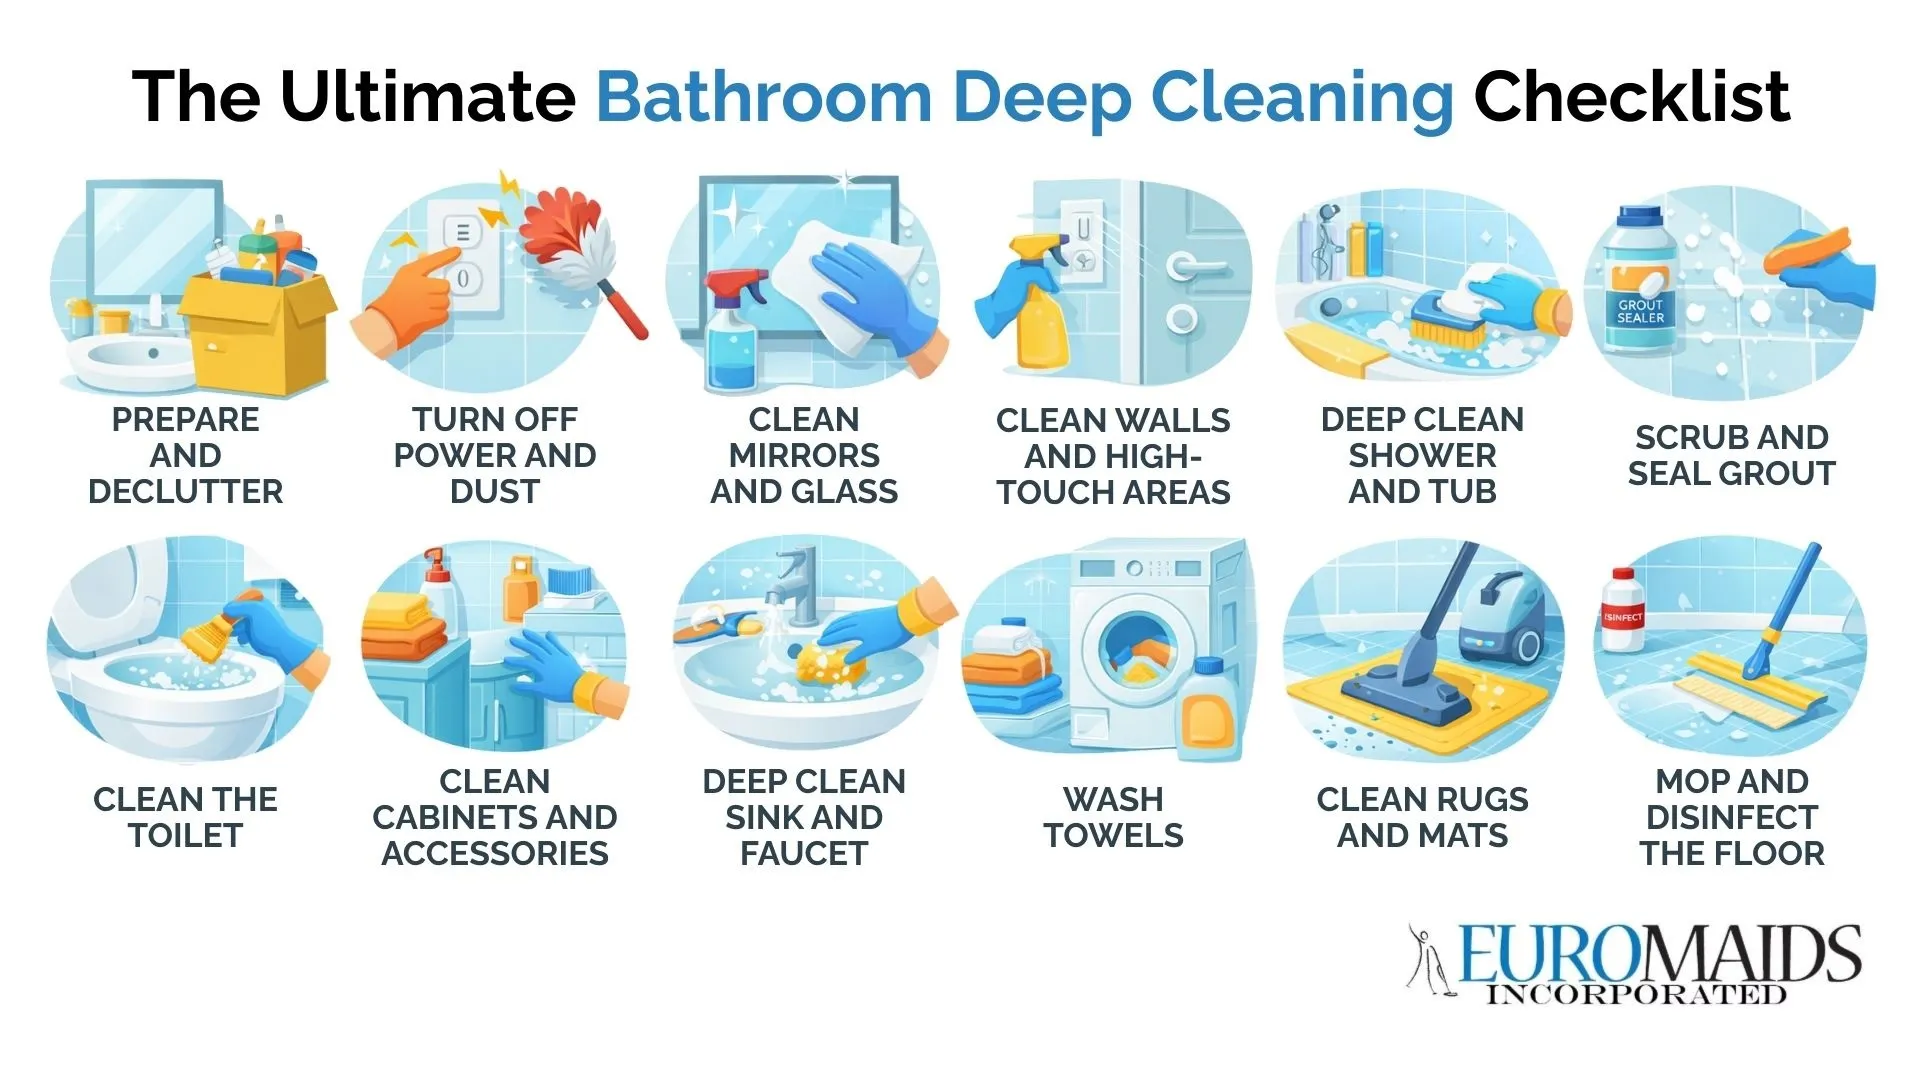
The Ultimate Bathroom Deep Cleaning Checklist: 12 Steps to Perfection
Your bathroom sees constant use throughout the day, making it a hotspot for bacteria, mold, and mildew. In fact, your shower curtain and floor harbor more bacteria than your toilet seat! That's why a thorough bathroom deep cleaning goes beyond surface-level maintenance to tackle hidden grime and create a truly healthy environment.
At Euro Maids, our expert team understands what it takes to achieve a spotlessly clean bathroom. This comprehensive guide will walk you through the complete bathroom deep cleaning process, covering everything from the key stages of cleaning to the correct order for maximum efficiency.
Tools and Supplies You'll Need to Clean the Bathroom
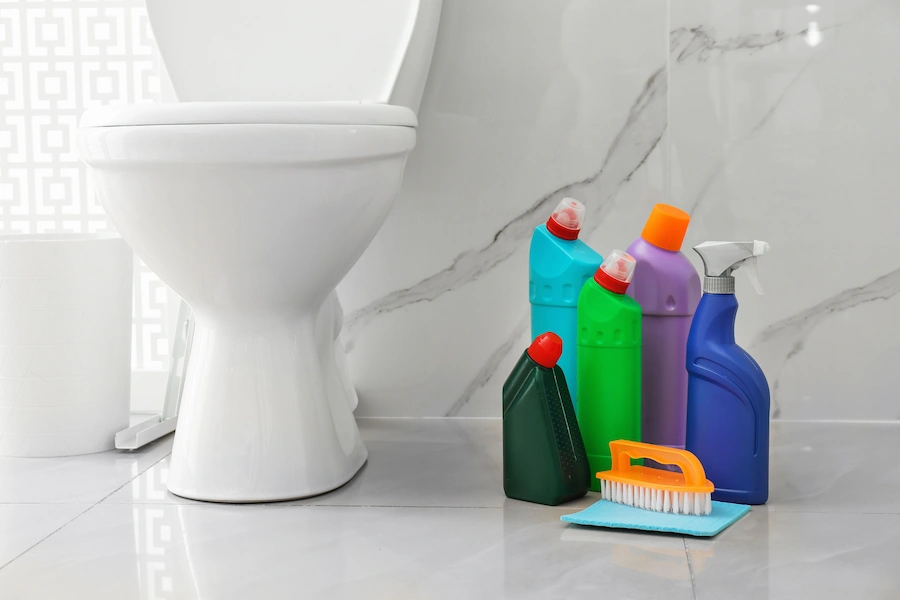
Before we dive into how to clean a bathroom, you'll need to gather the right supplies. Here's what to use to clean the bathroom:
Essential cleaning products:
- Baking soda
- White vinegar
- Bleach or eco-friendly alternative
- All purpose cleaner
- Toilet bowl cleaner
- Glass cleaner
- Disinfectant spray
Cleaning tools:
- Toilet brush and scrub brush
- Clean microfiber cloth and damp cloth
- Sponges and paper towels
- Small detail brushes for hard-to-reach areas
- Rubber gloves for protection
- Bucket for mixing cleaning solution
- Vacuum cleaner
Pro tip: Keep a dedicated set of bathroom cleaning supplies separate from your kitchen cleaning tools to prevent cross-contamination of germs and bacteria.
How to Deep Clean Your Bathroom in the Right Order
The steps in cleaning the bathroom are fairly straightforward as long as you've collected the above supplies and you're willing to put in a little bit of elbow grease.
Step #1: Prepare and Declutter the Bathroom
Begin by removing larger items like magazine stands, organizational units, and decorative pieces that might obstruct your cleaning. Next, clear all surfaces — remove soaps, shampoos, shower products, hanging towels, bathroom rugs, and items from the bathroom cabinets and countertops. Don't forget to relocate trash cans as well. This 20-minute rule in cleaning suggests tackling quick decluttering tasks first to create an efficient workspace and maintain momentum throughout the entire bathroom cleaning process.
Step #2: Turn Off Power and Dust from Top to Bottom
For a thorough deep clean, turn off the power to light fixtures and ventilation fans before cleaning. Start dusting from the ceiling down, using a long-handled duster to access hard-to-reach corners with cobwebs or dust accumulation. Clean light fixtures, fan blades, and air vents to remove built-up grime. Use a small step ladder if necessary for better access to these areas.
Once you've finished dusting all bathroom surfaces, sweep and vacuum any debris that fell onto the bathroom floors.
Pro tip: Remove fan blades if possible and wash them with warm, soapy water for the most thorough clean, which prevents dust from circulating back into your bathroom.
Step #3: Clean Mirrors and Glass Surfaces
Spray bathroom mirrors with glass cleaner or a simple vinegar solution — one cup of vinegar mixed with one cup of water. Wipe them down using a clean microfiber cloth for a streak-free shine. If you don't have microfiber cloths on hand, newspaper works well too, as paper towels may leave streaks. For detailed techniques on achieving perfectly clear mirrors without streaks, use circular motions and buff dry with a clean cloth.
Clean glass shower doors by applying a paste of baking soda mixed with a few drops of vinegar. Let it sit for an hour before wiping with a damp cloth to remove soap scum and hard water stains.
Step #4: Clean the Shower Walls and High-Touch Surfaces
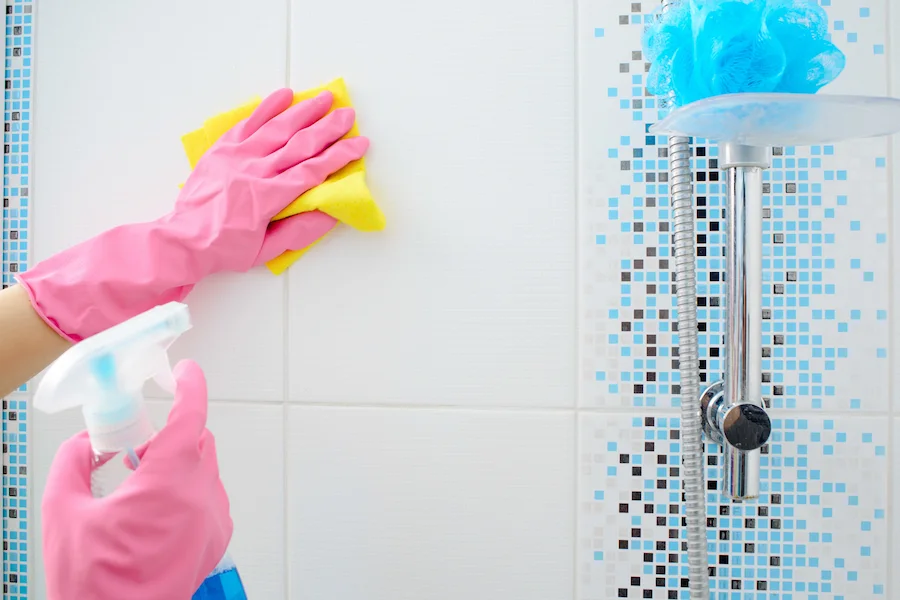
Spray bathroom walls, cabinets, and high-touch surfaces like door handles and light switches with an all-purpose cleaner or disinfectant spray. Use microfiber dust mops with long handles to reach corners and remove stains and dust throughout walls without leaving circular marks.
For mold and mildew buildup, create a cleaning solution using equal parts water and white vinegar, which effectively cleans delicate surfaces while killing mildew. Store it in a spray bottle and apply with a soft cloth.
Important: Always ensure proper ventilation by keeping bathroom doors and windows open during and after cleaning, and run the ventilation fan for at least 20 minutes after showering to prevent moisture buildup.
Step #5: Deep Clean the Shower and Bathtub
Before tackling the shower itself, clean your shower curtain where mold and mildew tend to accumulate most. Remove the curtain and place it in the washing machine with regular detergent, a cup of white vinegar, and a few old towels that help scrub away soap scum and mildew, then wash on the gentlest setting and hang to dry. Clean curtain rings by soaking them in hot water mixed with white vinegar.
For detailed shower cleaning techniques, here are the essentials:
- Shower doors: Use a mixture of a few drops of vinegar with baking soda to create a paste. Leave it on the door for an hour and use a damp cloth to wipe it off.
- Bathtub: Apply bathroom cleaner, let sit, scrub thoroughly, and rinse. For acrylic surfaces, follow specific acrylic bathtub cleaning guidelines to avoid scratching.
- Showerhead: Use a grocery bag and fill it with vinegar. Tie it directly onto your showerhead to submerge it and let it sit overnight. Use water to rinse it clean.
Step #6: Scrub and Seal Grout Lines
Grout between tiles collects dirt and harbors mold. Mix baking soda with water to create a paste, or use a commercial grout cleaner. Apply directly to grout lines and let sit for several minutes. Scrub with a small brush or old toothbrush dipped in the cleaning solution.
Pro tip: After cleaning, seal your grout every six months to prevent moisture and grime from infiltrating the porous surface. This simple maintenance step significantly extends the life of your tile work.
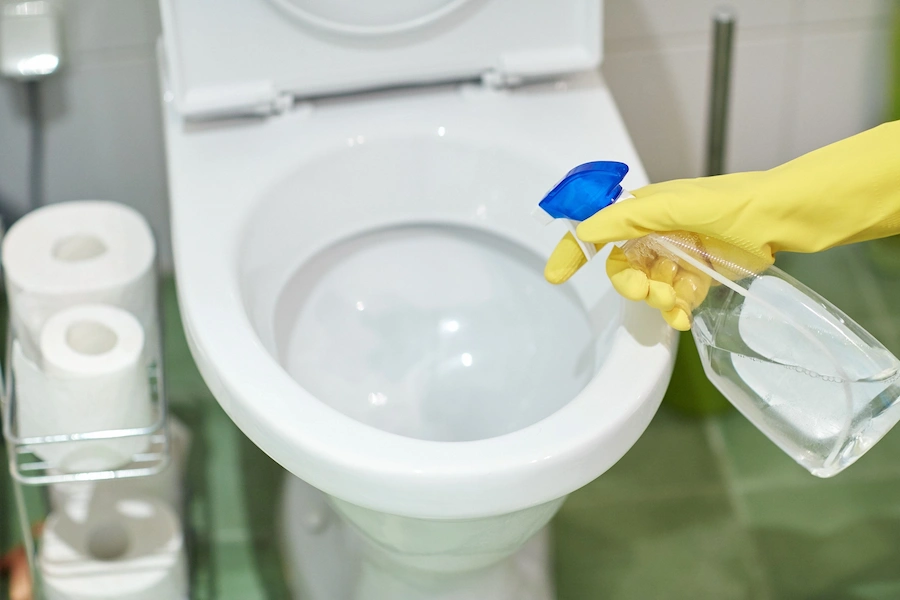
Step #7: Clean the Toilet
Complete toilet cleaning involves three main areas:
- Toilet bowl: Apply toilet bowl cleaner under the rim and let soak for several minutes, then use a toilet brush to scrub inside the bowl, reaching down into the water, around the midsection, and along the ridge under the toilet seat. Lift the seat and scrub underneath using a cloth with disinfectant spray.
- Toilet brush: After cleaning the bowl, rinse the toilet brush in clean water, then soak it in a bucket with hot water and bleach or disinfectant for 10 minutes. Rinse thoroughly and let dry completely before returning to its holder.
- The exterior: You can clean the exterior of your toilet using a cloth or scrubbing sponge with a regular bathroom cleaner. For particularly dirty bowls, use bleach and strong disinfectants to ensure it is completely clean.
- Water tank: Remove the lid and check for dirt or mineral buildup inside. Pour three to four cups of vinegar and let soak, then turn off the water supply and flush to empty the tank. The softened mineral deposits scrub away easily with a brush, then switch the water back on and flush several times.
Step #8: Clean Cabinets, Shelves, and Accessories
Wipe down bathroom cabinets and shelves using an all-purpose cleaner. Pay attention to cabinet handles, drawer pulls, and any decorative items. For organized bathroom storage, remove items from cabinets periodically to clean interior surfaces.
Don't forget accessories like toothbrush holders, soap dishes, and other items. Soak toothbrush holders in warm water mixed with baking soda to remove buildup. Clean the trash can inside and out — rinse thoroughly, dry completely, and spray with disinfectant spray before replacing the liner.
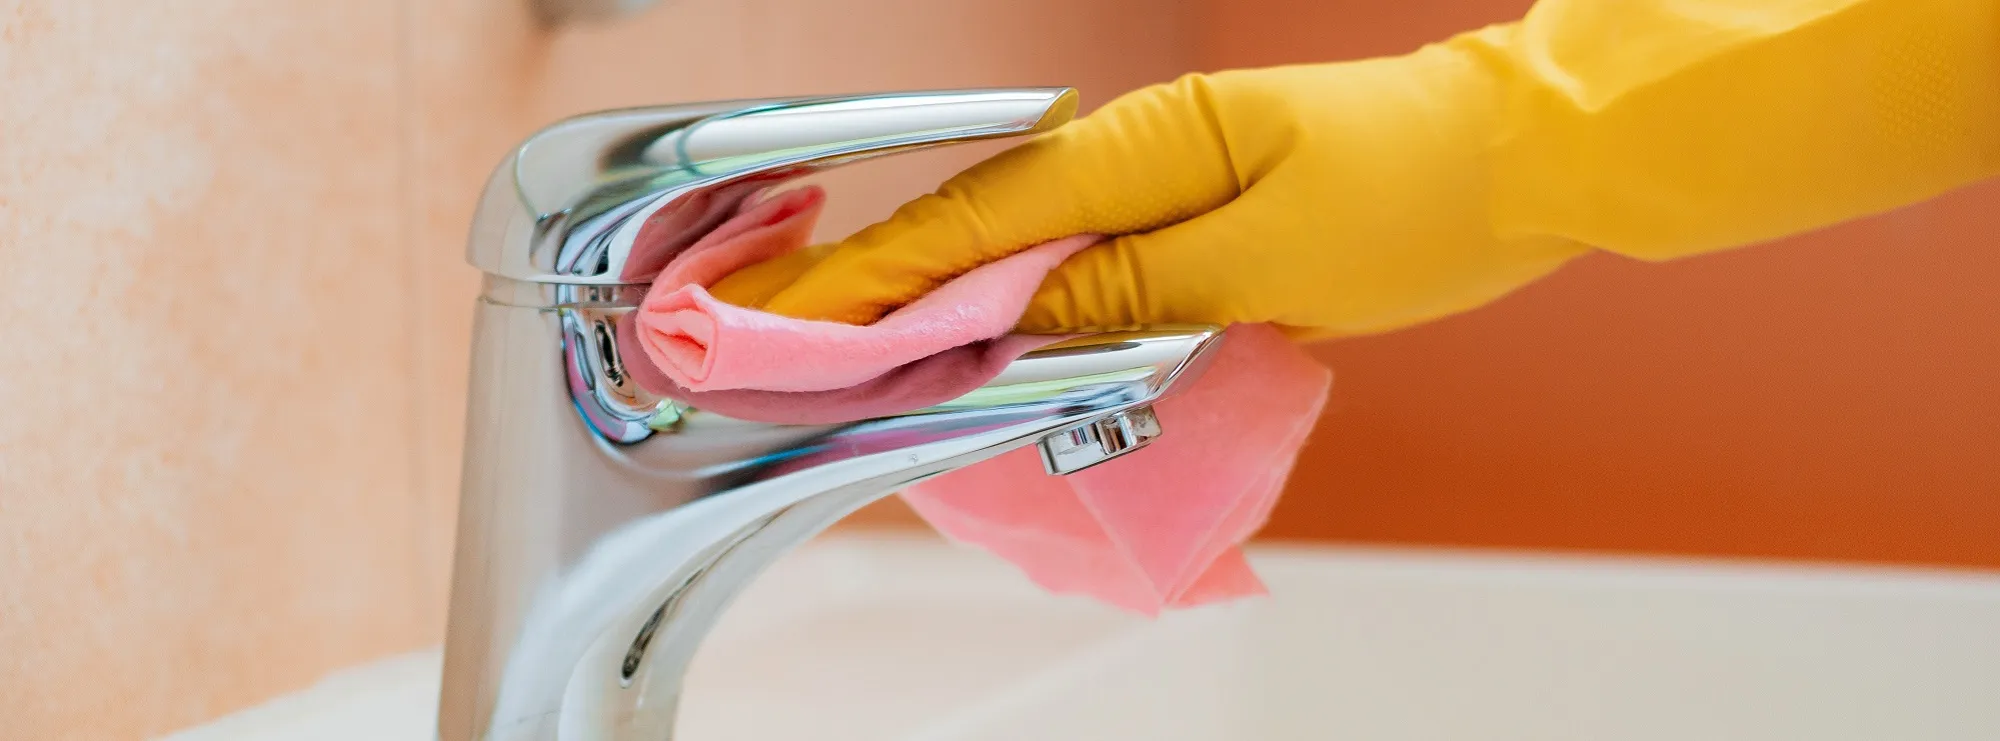
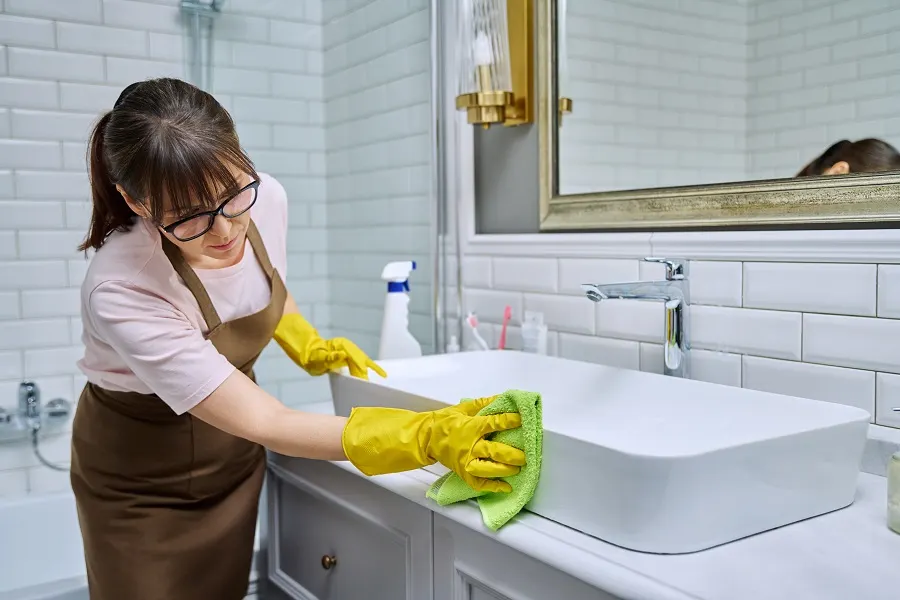
Step #9: Deep Clean the Sink and Faucet
The sink and faucet often harbor more bacteria than other bathroom surfaces. Scrub the faucet, handles, basin, and nearby counters with bathroom cleaner or disinfecting wipes. For stubborn stains, use a baking soda and dish soap paste.
To clean the drain, pour half a cup of baking soda followed by a cup of white vinegar. Let it sit for an hour, then flush with hot water. For lingering odors or clogs, check our guide on cleaning bathroom sink drains.
Finish by polishing chrome fixtures with a microfiber cloth and glass cleaner to remove water spots and fingerprints.
Step #10: Wash the Bathroom Towels
One of the final steps in how to deep clean your bathroom is addressing the towels. If your towels are white, you can run them in a wash cycle with bleach to sanitize them. Aim to wash your bathroom towels regularly as your guests will use them when they are over.
Step #11: Clean Bathroom Rugs and Mats
Bathroom rugs and mats trap moisture, dead skin cells, and bacteria, making them breeding grounds for mold and mildew. Machine wash bathroom rugs weekly in hot water with detergent, or shake them outside to remove loose dirt before washing. For rubber-backed mats, use a gentle cycle to prevent damage, and always hang them to dry completely before placing them back on bathroom floors. Replace bath mats that show signs of mold or have developed unpleasant odors that don't wash out.
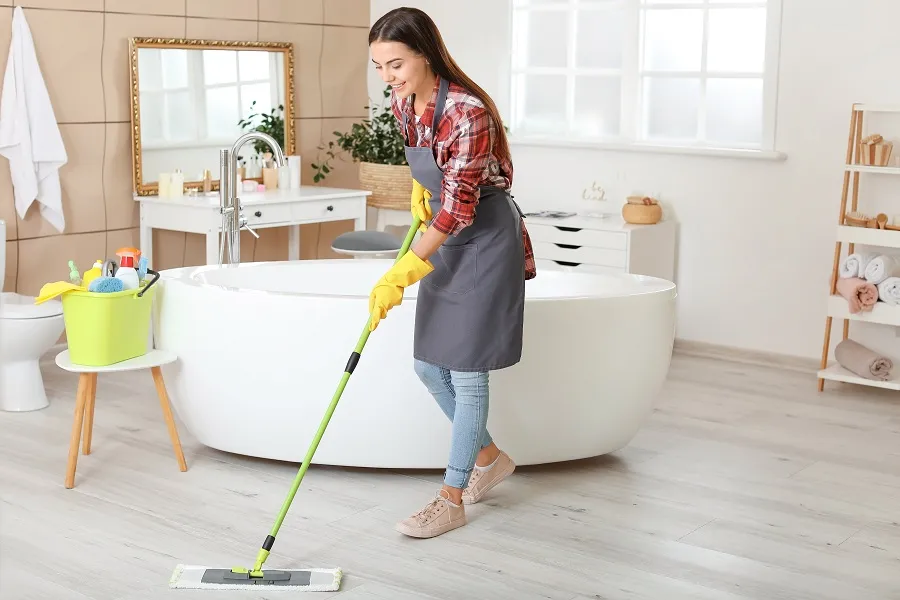
Step #12: Mop and Disinfect the Floor
Sweep the floor with a small broom, collecting dust and dirt from corners, behind the toilet, and other hard-to-reach areas (use a damp cloth for particularly difficult spots). Fill a bucket or use your bathtub with two gallons of warm water, one tablespoon of dish soap, and a quarter cup of vinegar, mixing until you see suds. Clean the floors by hand or with a mop designed for floor-cleaning cloths, then dry with a towel to prevent water spots and achieve a perfect shine.
Preventative Maintenance Tips
Regular maintenance prevents major buildup between deep cleaning sessions:
- Wipe down shower walls and glass surfaces after each use with a squeegee to prevent soap scum accumulation.
- Run the ventilation fan for at least 20 minutes after showering or bathing.
- Keep bathroom doors and windows open when possible to reduce moisture.
- Hang wet towels on bars to allow air circulation — never hang near the toilet.
- Replace hand towels every three to four days.
- Clean the towel bar regularly to prevent bacterial growth.
- Fix plumbing leaks immediately to prevent water damage and mold growth.
- Place moisture-absorbing desiccants in corners or run a dehumidifier in humid climates.
- Use mold-resistant paint when repainting bathroom walls.
- Consider rim blocks that release cleaner with every flush.
- Use enzyme-packed drain sticks monthly to prevent gunk buildup in drains.
- Spread bath mats completely dry after use.
Following a consistent cleaning schedule prevents overwhelming buildup and maintains a healthier bathroom environment.
Experience the EuroMaids Difference in Bathroom Cleaning
A truly clean bathroom requires more than surface wiping — it demands attention to hidden bacteria, persistent mold, and mineral buildup that accumulate over time. While this comprehensive 12-step guide equips you with professional techniques for bathroom deep cleaning, we understand that maintaining this level of cleanliness alongside busy schedules can be challenging.
Euro Maids brings nearly three decades of professional cleaning expertise to homes throughout Naperville and the Chicagoland area. We offer flexible cleaning solutions including deep cleaning, regular maintenance cleaning, one-time cleaning services, and apartment cleaning to match your specific needs and schedule.
Contact us today for a free estimate or to find out more about our bathroom cleaning services.

Related Posts
December 2, 2025
January 27, 2026
2026 Commercial Cleaning Rates in Naperville: Complete Pricing Breakdown
Discover the average cost for commercial cleaning in Naperville. Get pricing insights, service breakdowns, and smart budgeting tips for your business.
Read More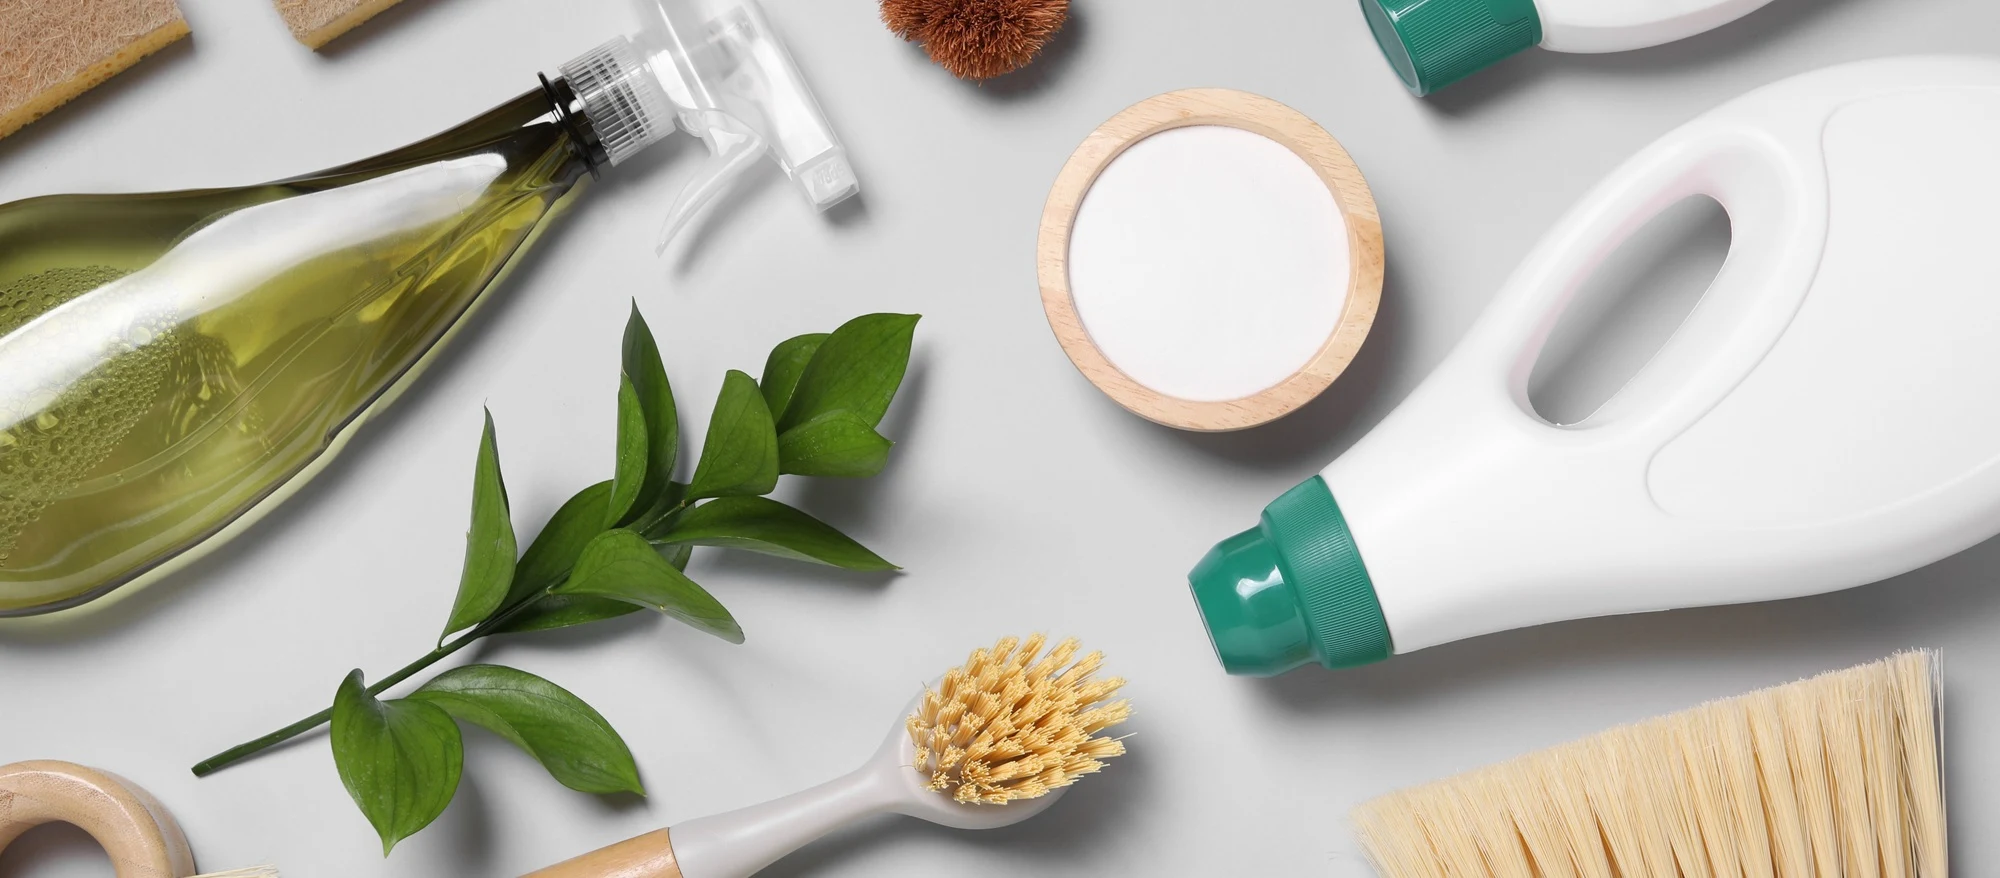
October 22, 2025
December 2, 2025
The Essential Cleaning Supplies List for a Sparkling Home
Tired of forgetting supplies? Use our list of cleaning items to build a reliable, affordable cleaning routine that saves time and effort every week.
Read More
March 18, 2026
March 18, 2026
How Much Does Post-Construction Cleaning Cost in Naperville? 2026 Guide.
Post-construction cleaning cost in Naperville runs $0.20–$0.45/sq ft in 2026. See the price breakdown, what's included, and how to avoid surprise charges.
Read More