

Cleaning Shower Tile, Glass Doors, and Fixtures: Complete Surface Guide
Your shower may have sparkled like new when you first moved in, but now it’s dulled by soap scum, mineral deposits, and persistent mildew. Glass doors lose clarity, grout lines darken, and the floor feels tacky from soapy residue that regular wiping just can’t remove.
Whether you're prepping for one-time cleaning before guests arrive or building a weekly routine to protect your surfaces, this guide covers safe, effective steps. You don’t need expensive products or harsh chemicals. With a few trusted cleaning supplies, a spray bottle solution, and some elbow grease, you’ll restore that hotel-clean sparkle using natural alternatives and tools you already have.
Understanding Your Shower Materials
Before you begin any bathroom deep cleaning, it's important to know what your shower is made of. Different materials require different care, and using the wrong cleaner can cause permanent damage that's costly to fix.
Understanding these material differences ensures your cleaning efforts enhance rather than damage your shower surfaces. Glass surfaces handle vinegar-based solutions well for removing mineral deposits, while natural stone requires specialized care to prevent permanent etching damage.
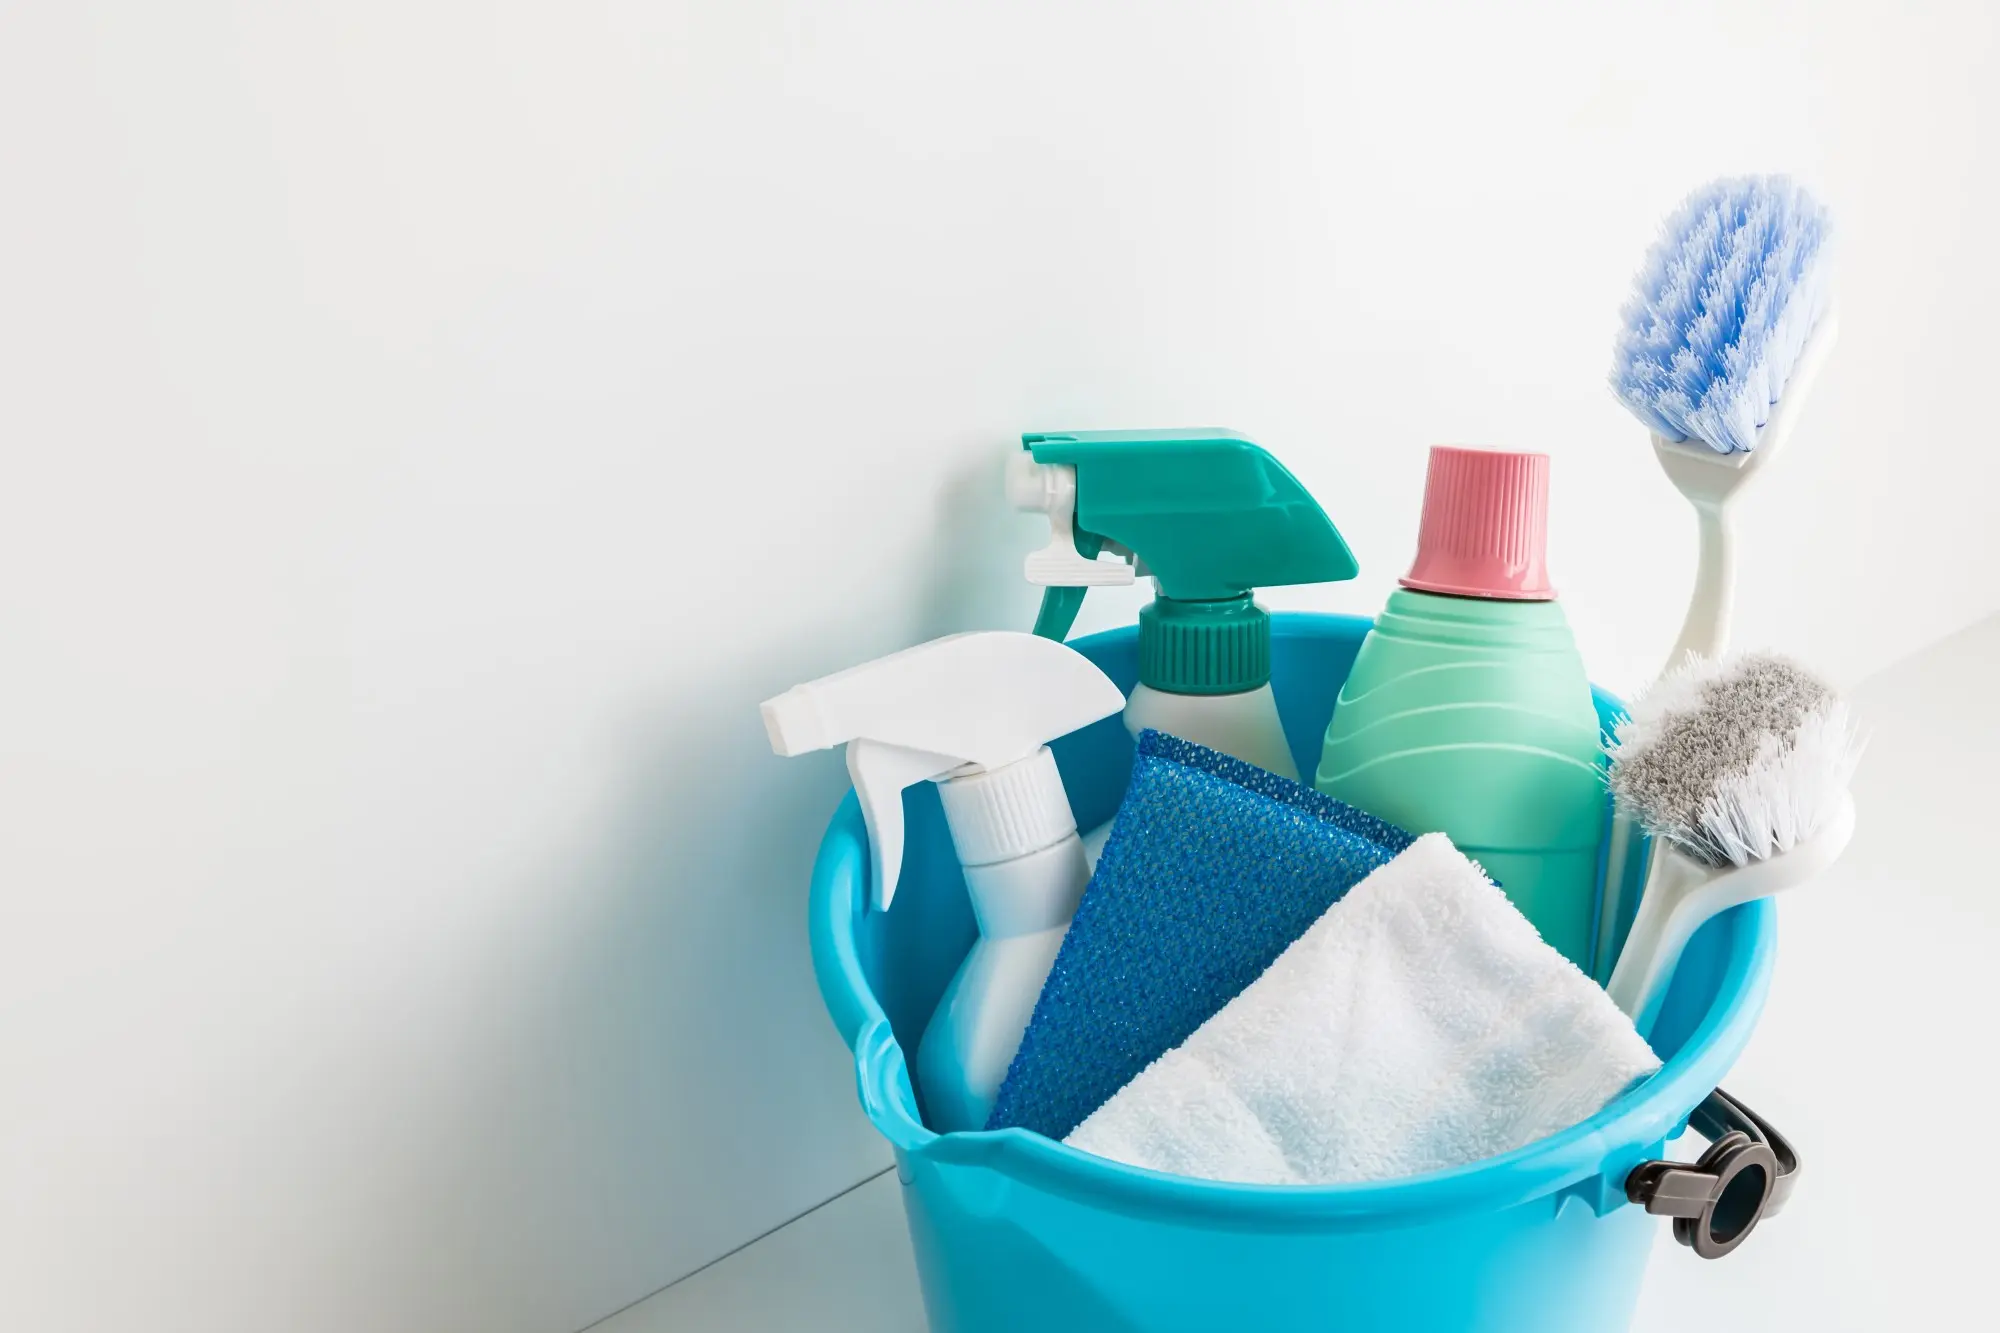
Essential Cleaning Supplies and Tools
Gather these cleaning supplies before starting your shower cleaning project:
Cleaning solutions:
- Distilled white vinegar
- Dawn dish soap
- Baking soda
- pH-neutral stone cleaner (for stone shower surfaces only)
Essential tools:
- Spray bottle for mixing solutions
- Microfiber cloth (multiple clean ones)
- Soft bristle brush and good scrub brush
- Old toothbrush for detail work
- Squeegee for glass surfaces
- Plastic scraper for tough soap scum
- Damp sponge and melamine sponge
- Scrub brush for textured areas
⚠️ Safety tip: Always use the bathroom fan or open a window for ventilation. Wear rubber gloves, and use eye protection when cleaning overhead.
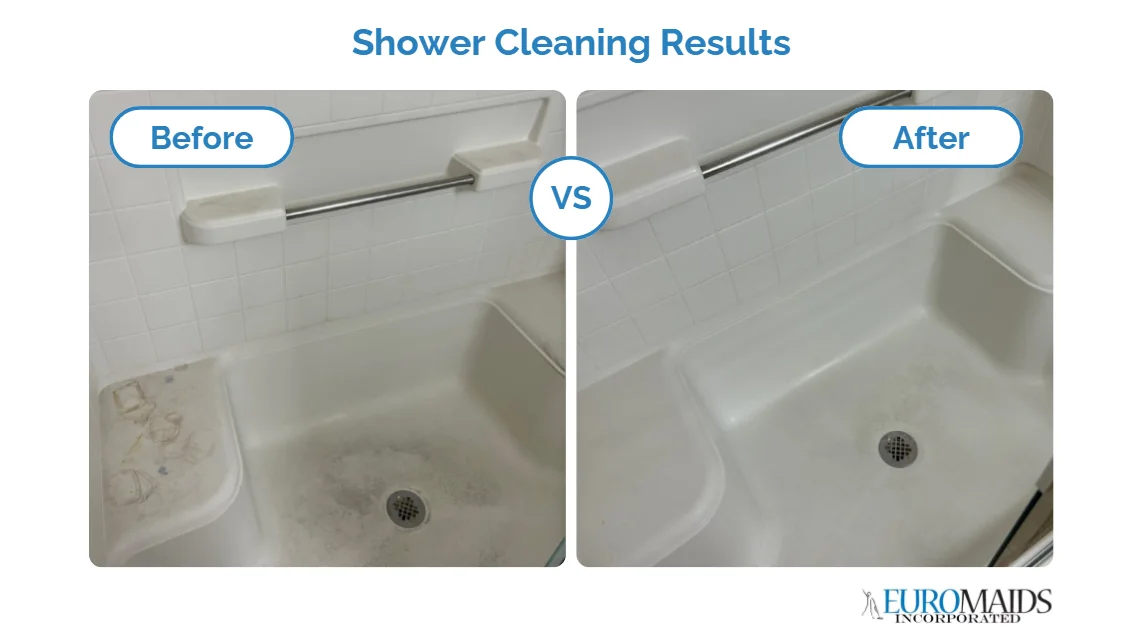
How to Clean Shower Walls and Floors
Start with the largest shower surfaces that accumulate the most soap scum buildup and mineral deposits from daily use.

Step 1: Clear the Shower Area
Remove all shampoo bottles, shower accessories, soap dishes, and shower caddies from your walk in shower. Complete access to all shower walls and the shower floor is essential for thorough cleaning and removing soapy residue from every surface.
Step 2: Initial Rinse with Warm Water
Use your handheld showerhead to rinse the entire surface with warm water, removing loose hair, excess water, and surface debris. This preparation helps your cleaning solution penetrate soap scum buildup more effectively.
Mix Your Cleaning Solution by Material
Different materials require different approaches to avoid damage while maximizing cleaning power.
- For ceramic tile showers and fiberglass showers: Combine equal parts distilled white vinegar and warm water in your spray bottle. Add one teaspoon of dish soap to create a powerful vinegar and dish soap solution that cuts through mineral deposits and soap scum.
- For natural stone surfaces: Use only pH-neutral stone cleaners designed for your specific stone shower material. Never use white vinegar on natural stone as it causes permanent etching damage.
Pro tip: Always test any cleaning solution on a small, hidden area first to ensure compatibility with your specific shower surfaces.
Step 3: Apply Solution and Allow Dwell Time
Spray your cleaning solution generously across shower walls and shower floor, working from top to bottom. Let the solution sit for 5-10 minutes to break down soap scum buildup and mineral deposits — this reduces the need for extra elbow grease during scrubbing.
⚠️ Warning: Don't allow cleaning solutions to air dry on surfaces, as this can cause streaking or residue that attracts more dirt.
Step 4: Scrub All Shower Surfaces
Use a microfiber cloth or damp sponge with circular motions to gently scrub smooth surfaces. For textured shower floors, a soft bristle brush penetrates crevices better than cloth materials. Pay special attention to corners and grout lines where remaining buildup accumulates.
Step 5: Rinse Clean and Remove All Residue
Thoroughly rinse the entire surface with clean water, ensuring complete removal of cleaning solution and loosened debris. Start at the top and work downward to remove soapy residue completely.
Step 6: Dry for Professional Results
Use clean microfiber cloth to dry glass surfaces and smooth areas, preventing water spots. Allow textured areas to air dry naturally while ensuring proper ventilation with your bathroom fan.
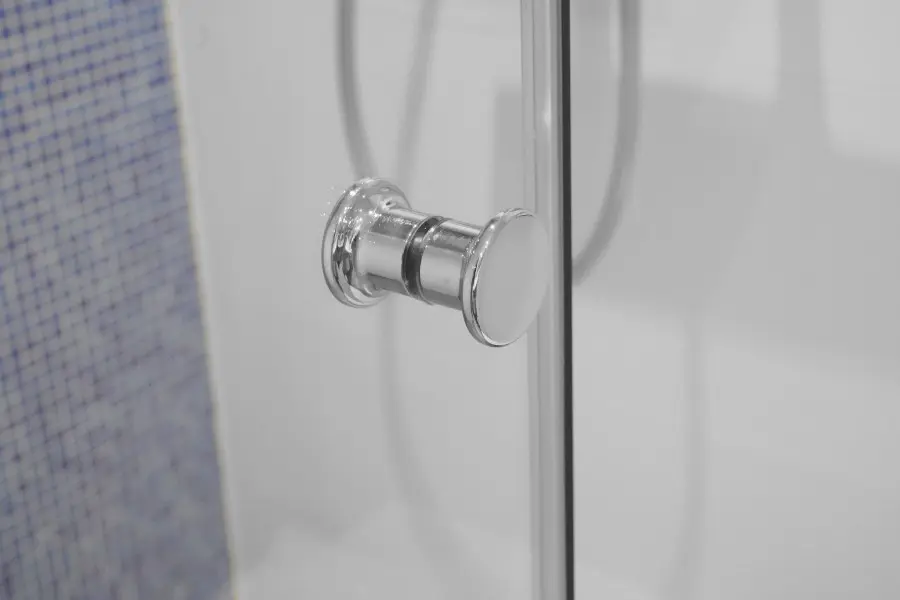
How to Clean Glass Shower Doors
Glass shower doors show every water spot and soap film. With the right techniques, you can easily remove buildup and restore clarity.
- Create baking soda paste: Mix baking soda with a little water to form a thick paste. Apply to heavy buildup and let sit.
- Apply vinegar solution: Spray vinegar and dish soap mix over the entire glass door, including tracks and frames.
- Allow solution to sit: Let sit 5–10 minutes to break down soap film and mineral deposits.
- Remove stubborn buildup: Gently scrape thick scum with a plastic scraper at 45°, keeping surfaces wet to avoid scratches.
- Rinse clean thoroughly: Rinse with clean water to remove all loosened grime and cleaner residue.
- Dry and squeegee: Dry with a soft cloth, then squeegee vertically for streak-free, clear glass.
How to Clean Shower Fixtures and Hardware
Hard water leaves chalky mineral deposits on shower heads, faucets, and accessories. Over time, they affect both water flow and appearance.
- Wrap fixtures with vinegar-soaked towels: Soak paper towels in vinegar, wrap around faucets, secure, and wait 15–20 minutes.
- Soak showerhead thoroughly: Detach and soak in vinegar for 30 minutes, or secure a vinegar bag around fixed units.
- Scrub detailed areas: Use an old toothbrush on crevices, threads, and decorative parts where buildup hides.
- Clear spray holes: Use toothpicks to dislodge mineral deposits from shower head holes for better water flow.
- Rinse with hot water: Remove soaked materials and rinse all fixtures thoroughly with hot water.
How to Clean the Shower Drain
A clean drain prevents water backup, eliminates odors, and maintains proper drainage flow throughout your shower system.
Your shower drain captures hair, soap scum, shampoo residue, and organic debris. This accumulation restricts water flow and creates bacterial breeding grounds, requiring thorough cleaning beyond basic maintenance.
- Remove visible debris: Use tweezers to extract hair and blockages from the shower drain opening.
- Flush with hot water: Pour hot water down the drain to loosen buildup and dissolve small clogs.
- Add natural cleaning agents: Add ½ cup baking soda, then ½ cup vinegar; cover with a damp cloth.
- Allow reaction time: Wait 15 minutes for fizzing to break down buildup and soap scum.
- Flush thoroughly: Pour hot water to rinse out loosened debris and cleaner residue.
- Clean drain cover: Scrub the cover separately using vinegar solution and an old toothbrush if removable.
⚠️ Warning: Avoid harsh chemicals that damage pipes - natural alternatives work effectively for regular cleaning needs.
How to Clean Shower Curtains
Shower curtains neesd regular care to prevent soap scum and mold, especially where they stay damp. Fabric and vinyl require different cleaning methods for best results.
- Machine wash fabric curtains: Remove fabric curtains and wash with detergent and warm water in your machine.
- Add vinegar for cleaning: Add one cup white vinegar in the rinse cycle to remove residue and prevent mildew.
- Clean vinyl curtains in place: Leave vinyl curtains hanging and spray with vinegar and dish soap solution.
- Focus on bottom sections: Lower portions get most moisture, so scrub carefully with a good brush.
- Ensure complete drying: Fabric or vinyl, let curtains air dry fully to prevent mold and odors.
- Daily maintenance routine: Shake water from curtains after every shower to reduce moisture buildup.

Tackling Specific Shower Problems
Certain tough stains and buildup types require specialized approaches beyond standard regular cleaning methods for effective removal.
#spoilers_start
Hard Water Stains and Mineral Deposits
Cloudy white deposits on glass surfaces and fixtures result from mineral-rich water. Standard light cleaning methods cannot remove these mineral deposits effectively.
Soak affected areas with undiluted distilled white vinegar for 15-20 minutes, then gently scrub with a soft cloth. For severe buildup, create vinegar and baking soda paste, apply directly to stains, allowing 10 minutes working time before scrubbing.
Rust Stains
Orange or brown rust stains typically originate from metal shower accessories or iron-rich water supplies, creating unsightly discoloration on shower surfaces.
Combine lemon juice and baking soda into paste consistency. Apply to rust stains, allow 10 minutes contact time, then scrub with soft bristle brush. This natural approach can remove stains without surface damage.
Mold Growth and Mildew
Black or green spots in corners and grout lines indicate mold growth — both unsightly and concerning for health, requiring immediate attention and removing moisture sources.
For light mildew, a regular vinegar solution works well because vinegar naturally kills mold organisms. However, when cleaning mold in bathroom grout or caulk, extensive growth may require professional treatment.
Soap Scum Buildup
Thick, filmy soap scum forms when soap combines with hard water minerals, creating sticky residue resistant to light cleaning methods and standard approaches.
Switch from bar soap to liquid body wash to reduce future accumulation. For existing soap scum, use baking soda paste methods with extended solution sit times to break down stubborn residue effectively.
#spoilers_end
Maintenance Tips to Keep Your Shower Cleaner Longer
Preventing buildup is far easier than scrubbing it away. These habits cut down deep clean time and keep your shower fresh between sessions.
- Daily squeegee use: 30 seconds prevents most water spots and soap scum, keeping glass clear.
- Run bathroom fan: Use during showers and 30 minutes after to reduce moisture and mold.
- Open windows: Fresh air speeds drying and lowers humidity to deter mildew.
- Switch soap products: Liquid body wash creates less soap scum than bar soap.
- Weekly vinegar spray: Mix 1 part vinegar with 3 parts water; spray walls and rinse next shower.
- Wipe fixtures: Use a microfiber cloth to prevent mineral deposits on faucets and showerheads.
These maintenance habits become automatic within weeks, creating the difference between 20-minute regular cleaning sessions versus hours spent scrubbing stubborn buildup with abrasive cleaners and intensive methods.
Your Clean Shower Success Plan
A spotless shower doesn’t require pricey products or special tools — just the right cleaners, proper techniques, and consistent habits. Identify your surfaces, use safe solutions, and maintain weekly routines to prevent buildup and stains.
Remember: consistency beats intensity. A few minutes each week saves hours of scrubbing later. If you’d rather spend time elsewhere, EuroMaids in Naperville can deliver that same sparkling, hotel-clean finish with our professional touch. Contact us today for a free consultation.

Related Posts
September 12, 2025
November 5, 2025
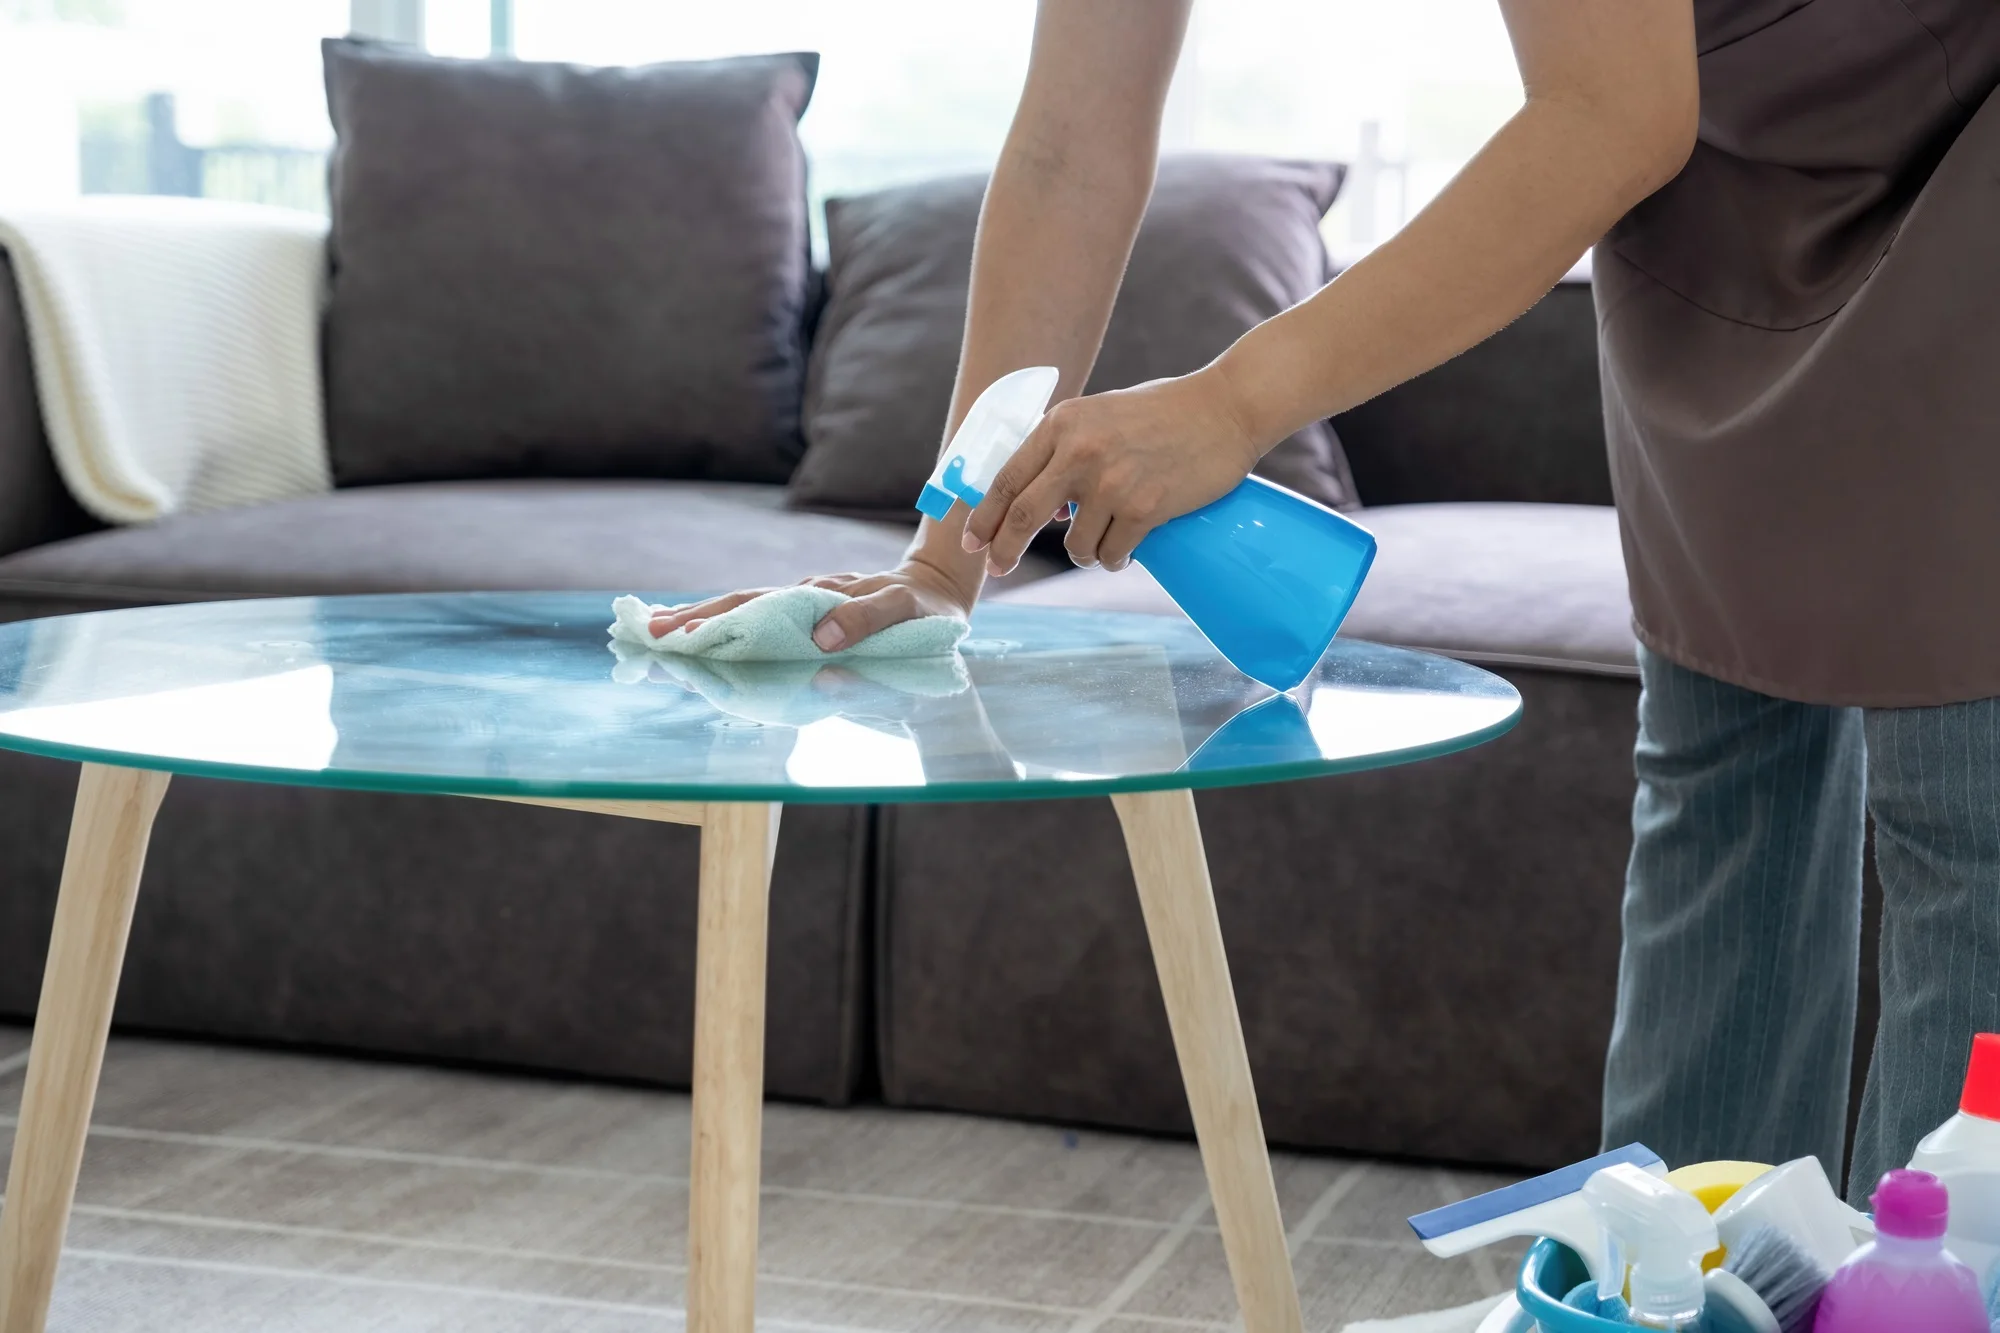
How to Clean a Glass Table Streak-Free and Keep It Spotless
Learn how to clean glass dining table without streaks in 5 minutes. Expert tips, supplies, and proven techniques for crystal-clear results.
Read More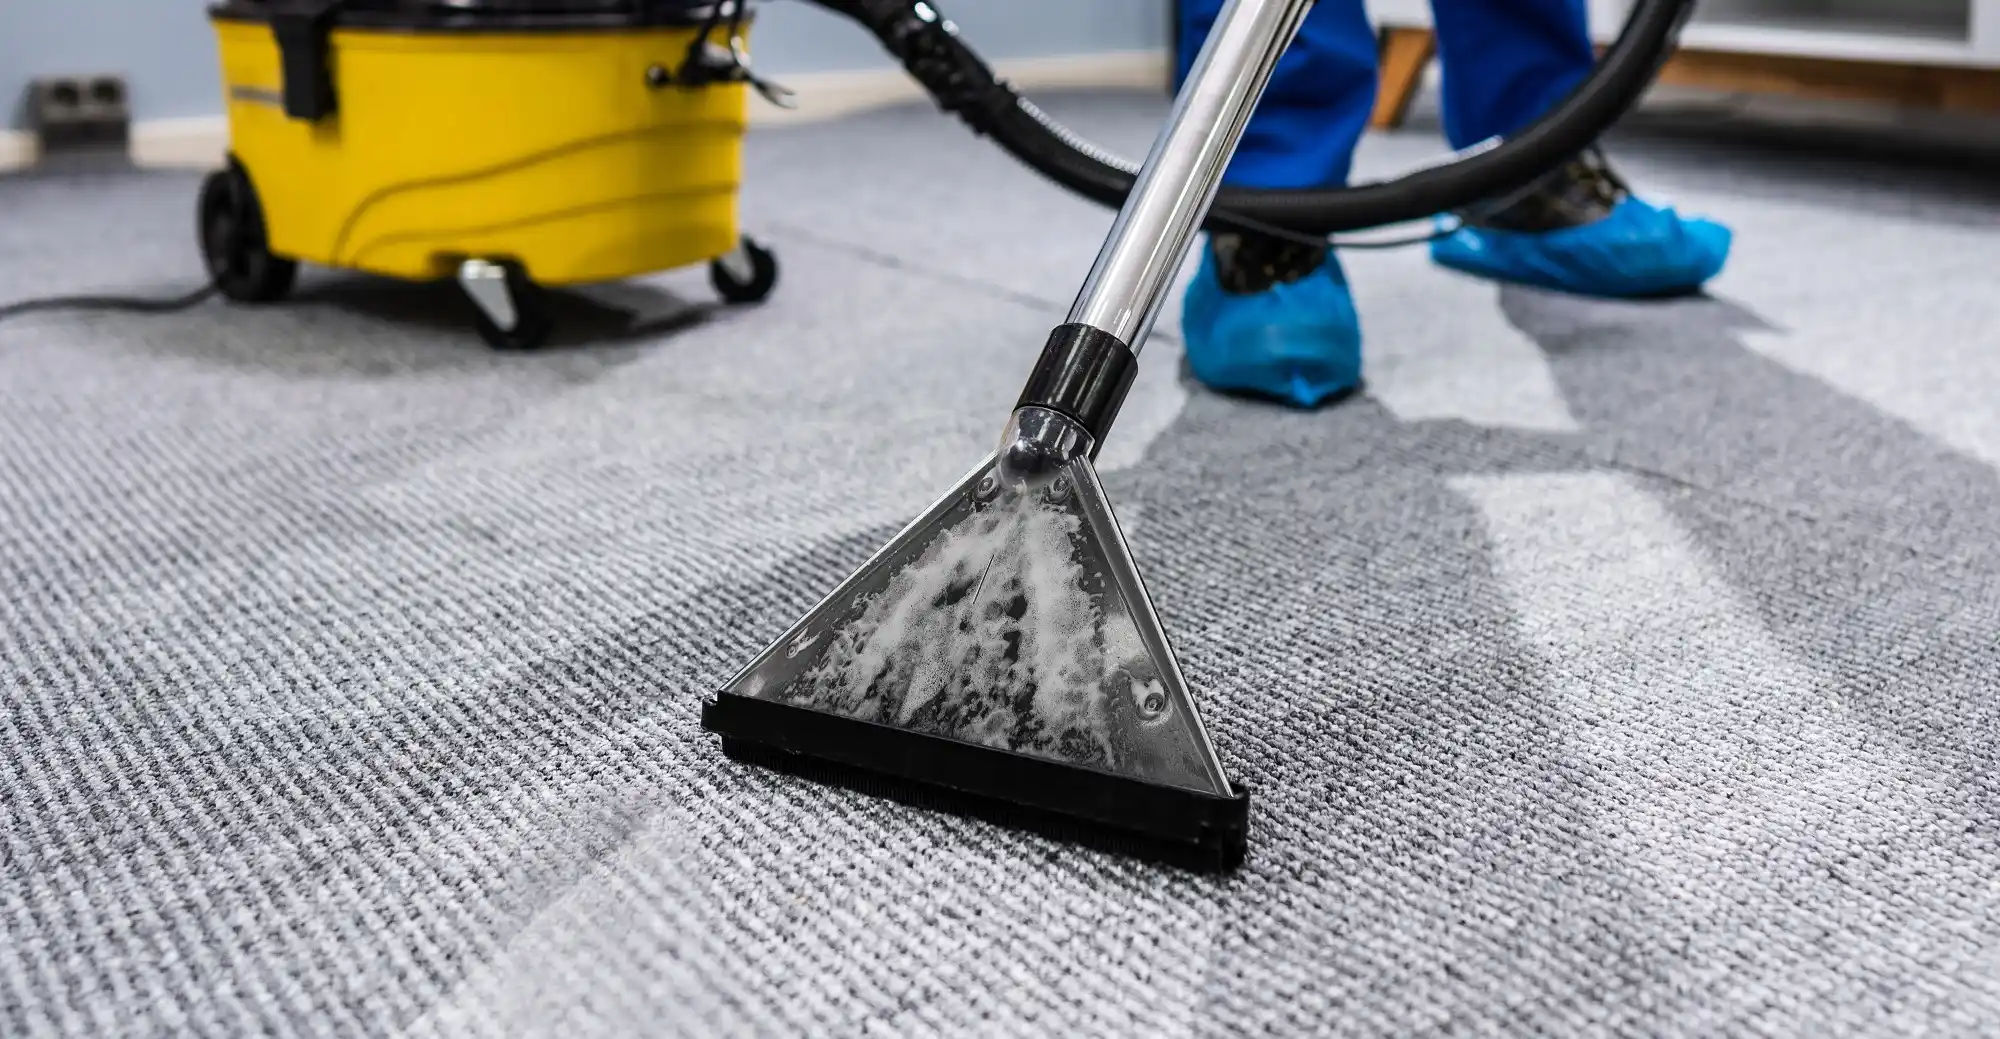
July 22, 2025
November 5, 2025
Average Carpet Cleaning Cost in Naperville, IL: 2025 Complete Guide
Wondering what the average carpet cleaning cost is in Naperville? Learn about pricing models, key cost factors, and tips to save on professional services.
Read More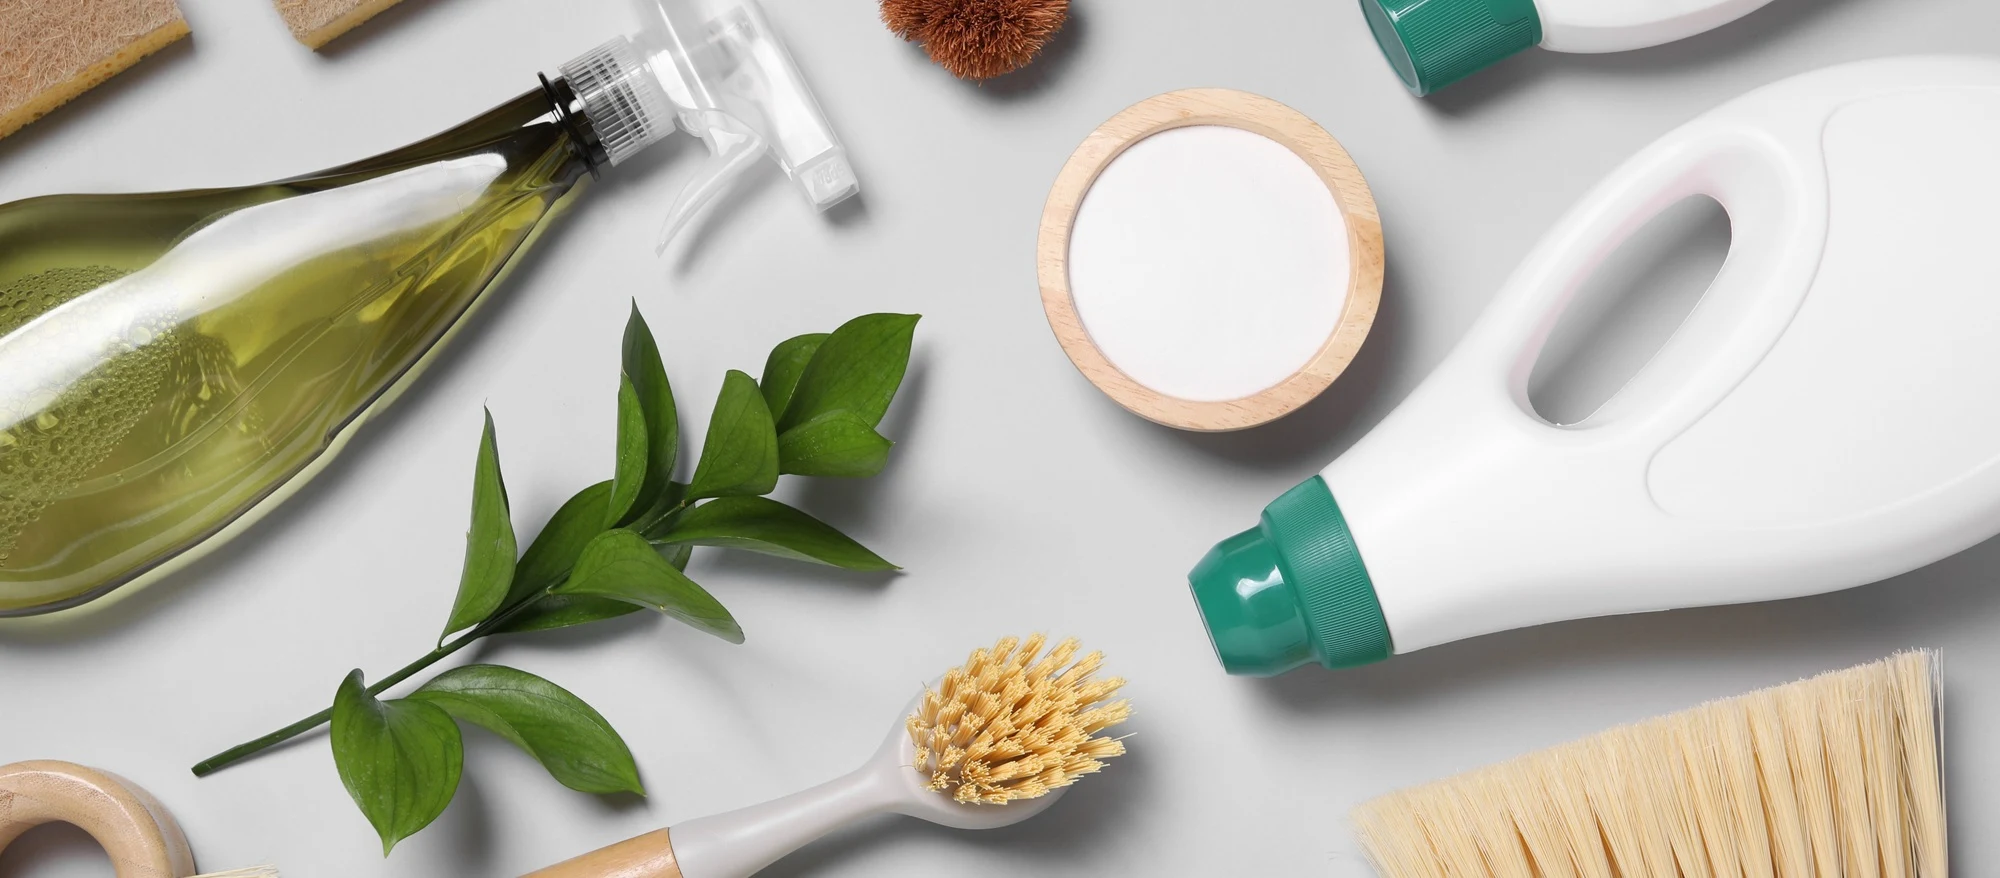
October 22, 2025
December 2, 2025
The Essential Cleaning Supplies List for a Sparkling Home
Tired of forgetting supplies? Use our list of cleaning items to build a reliable, affordable cleaning routine that saves time and effort every week.
Read More